Abstraction
This Mind Map tries to capture some of my beginning thoughts about abstract photography. When I think of abstract I think of pictures without a clear subject, about patterns and shapes and colours. Pictures that are sometimes confusing and strange.
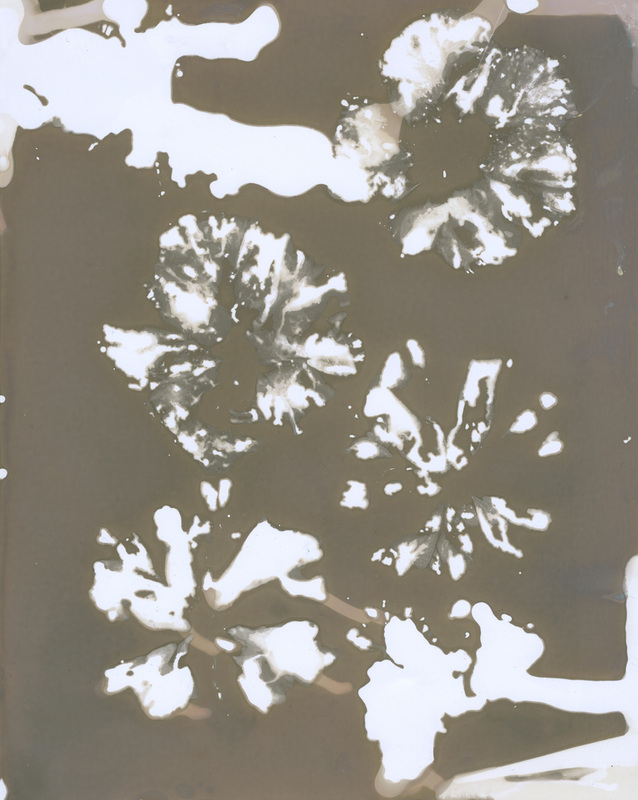
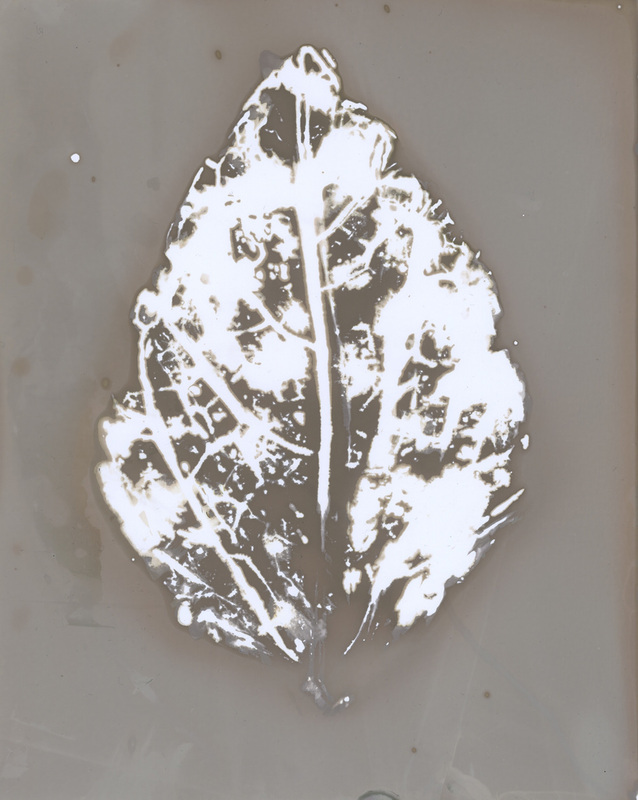
Chemigrams
To make a Chemigrams you are going to need certain types of equiptment.
You are going to need;
To set up to make a chemigram you are going to need to get three trays each one for a different chemical, set them up as recommended by the brand for paper development not film, for ease of reference then label each try then you are ready to begin. To create a positive picture you will need to select your an object. You can also create hand prints if your sure to wash your hands straight away after for a couple of minutes using warm water. Dip your object into the developer this is just the dip part, next you will need to shake of any extra liquid. Carefully place it onto your light sensitive paper and cover it with a paper towel evenly press down and press it down for 40/60 seconds. Once that's done you should take it out and you should get a black detailed picture of your choses object, To keep the print on the paper you must place it carefully into the stop chemical for a maximum of 30 seconds. Once you put it into the stop chemical you must put it into the fixer for minimum of 5 minutes and maximum of 10 minutes and coming back every 2 minutes moving it about in the fixer. Once you have put it into the fixer you may need to get a new tray to fill it up with clean water place the pictures into the tray of clean water and leave it for 5 minutes to rinse of all the chemicals that have been left on it... Once you have completed each step you should come out with a great looking picture, First time might not be the best ones but gradually as you keep doing them and gradually get used to all the chemicals your objects should get more funky and mysterious and should form better chemigrams.
You are going to need;
- Light sensitive paper..
- Three trays..
- Developer,Stop & Fixer Chemicals..
- No Darkroom needed..
- Paper Towels or Kitchen Towels may be handy..
To set up to make a chemigram you are going to need to get three trays each one for a different chemical, set them up as recommended by the brand for paper development not film, for ease of reference then label each try then you are ready to begin. To create a positive picture you will need to select your an object. You can also create hand prints if your sure to wash your hands straight away after for a couple of minutes using warm water. Dip your object into the developer this is just the dip part, next you will need to shake of any extra liquid. Carefully place it onto your light sensitive paper and cover it with a paper towel evenly press down and press it down for 40/60 seconds. Once that's done you should take it out and you should get a black detailed picture of your choses object, To keep the print on the paper you must place it carefully into the stop chemical for a maximum of 30 seconds. Once you put it into the stop chemical you must put it into the fixer for minimum of 5 minutes and maximum of 10 minutes and coming back every 2 minutes moving it about in the fixer. Once you have put it into the fixer you may need to get a new tray to fill it up with clean water place the pictures into the tray of clean water and leave it for 5 minutes to rinse of all the chemicals that have been left on it... Once you have completed each step you should come out with a great looking picture, First time might not be the best ones but gradually as you keep doing them and gradually get used to all the chemicals your objects should get more funky and mysterious and should form better chemigrams.
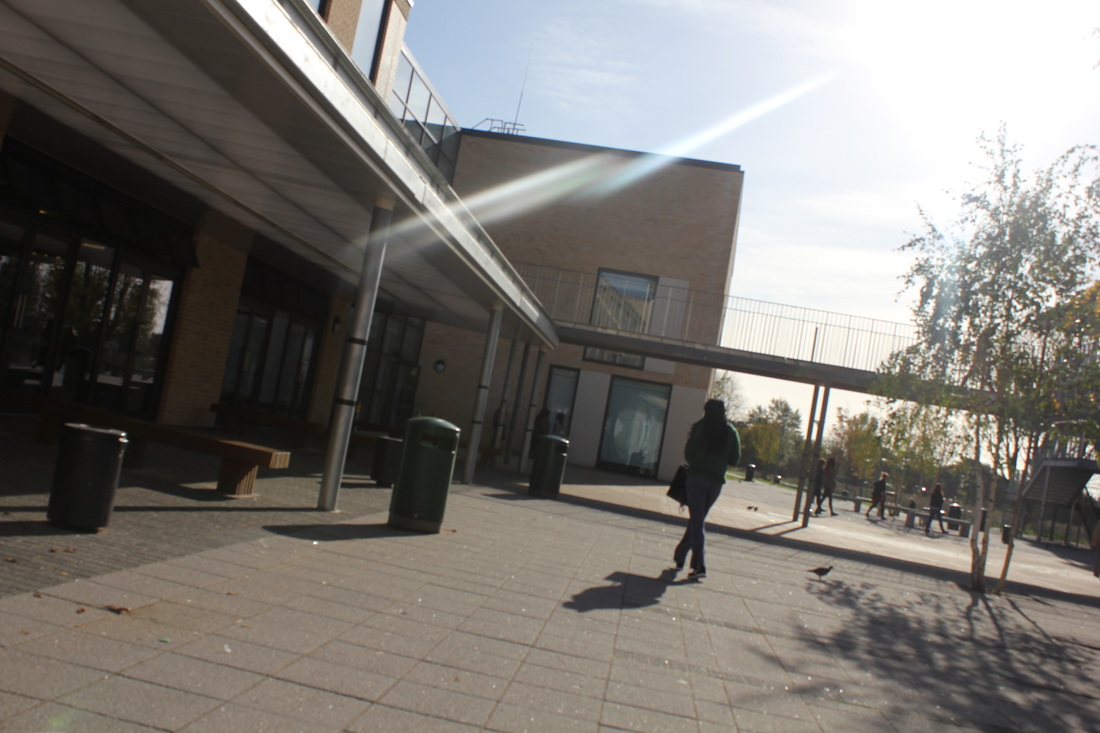
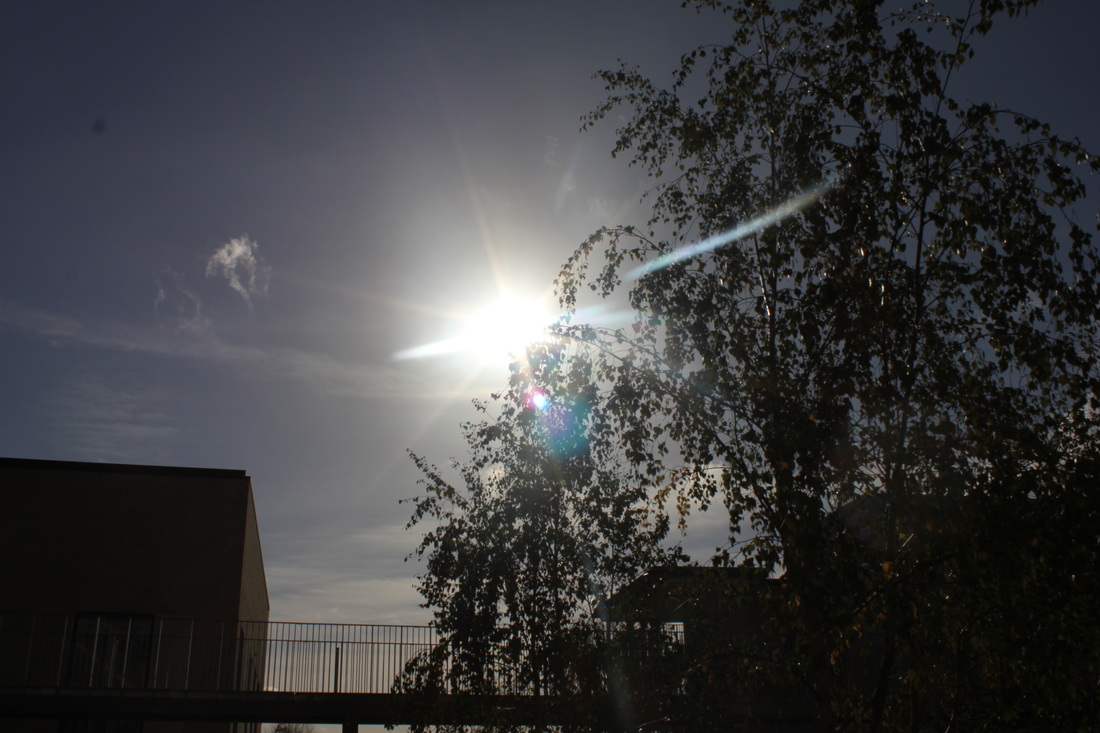
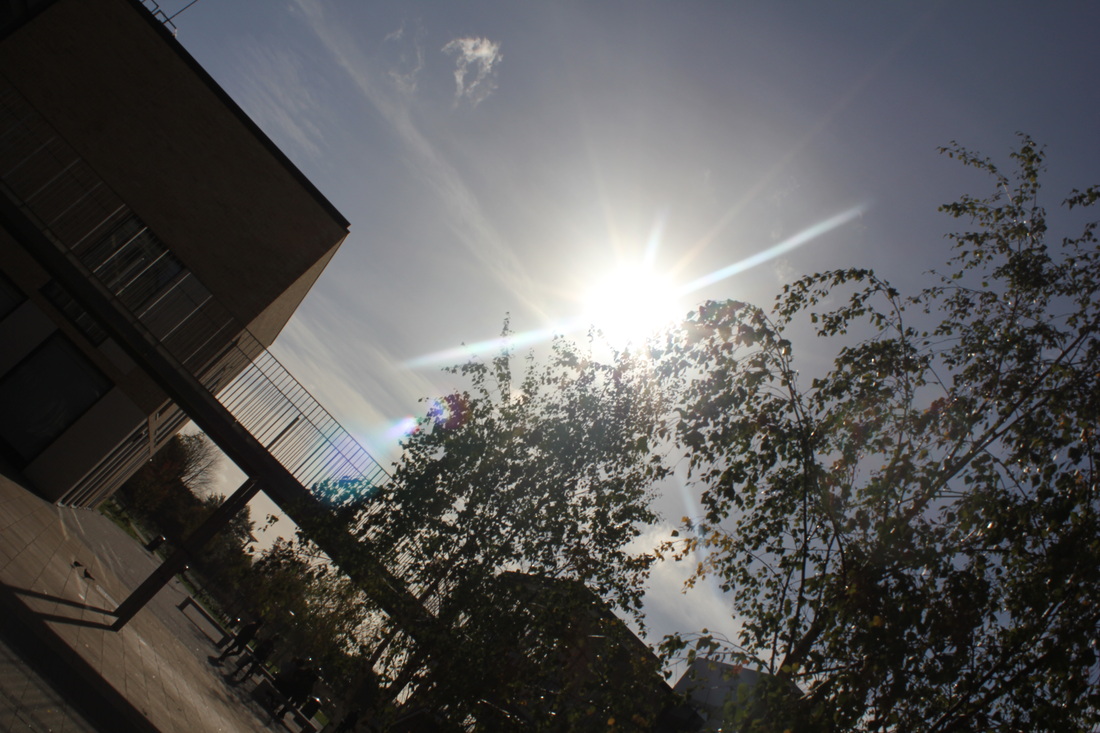
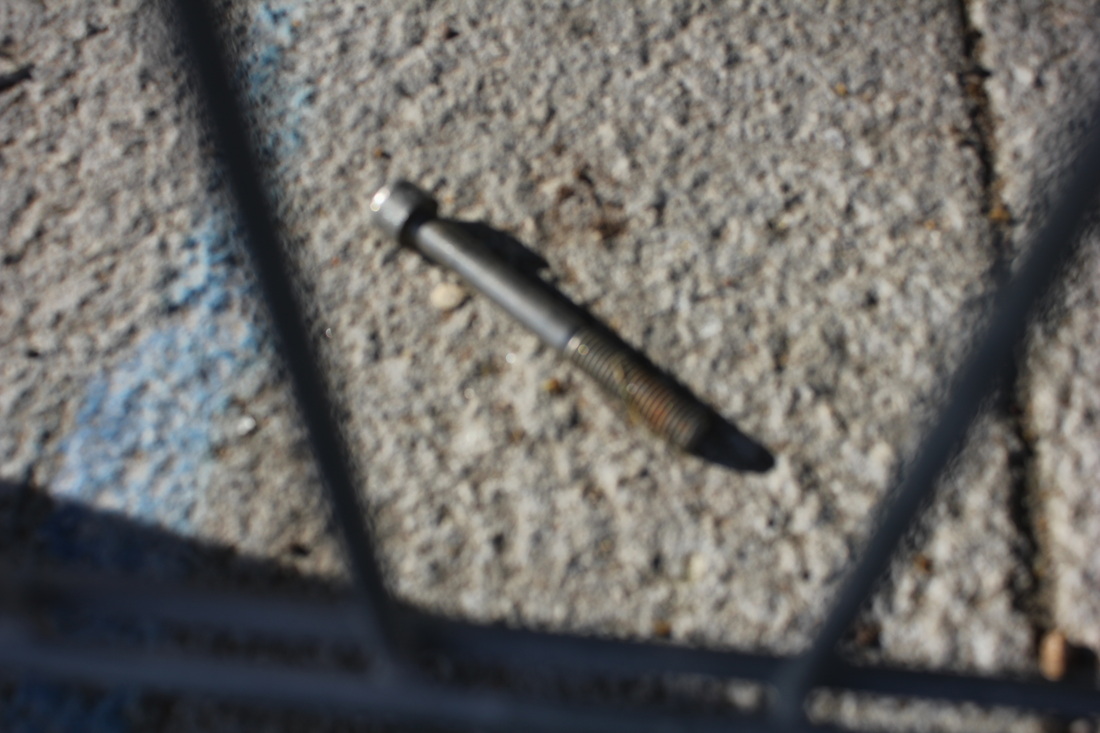
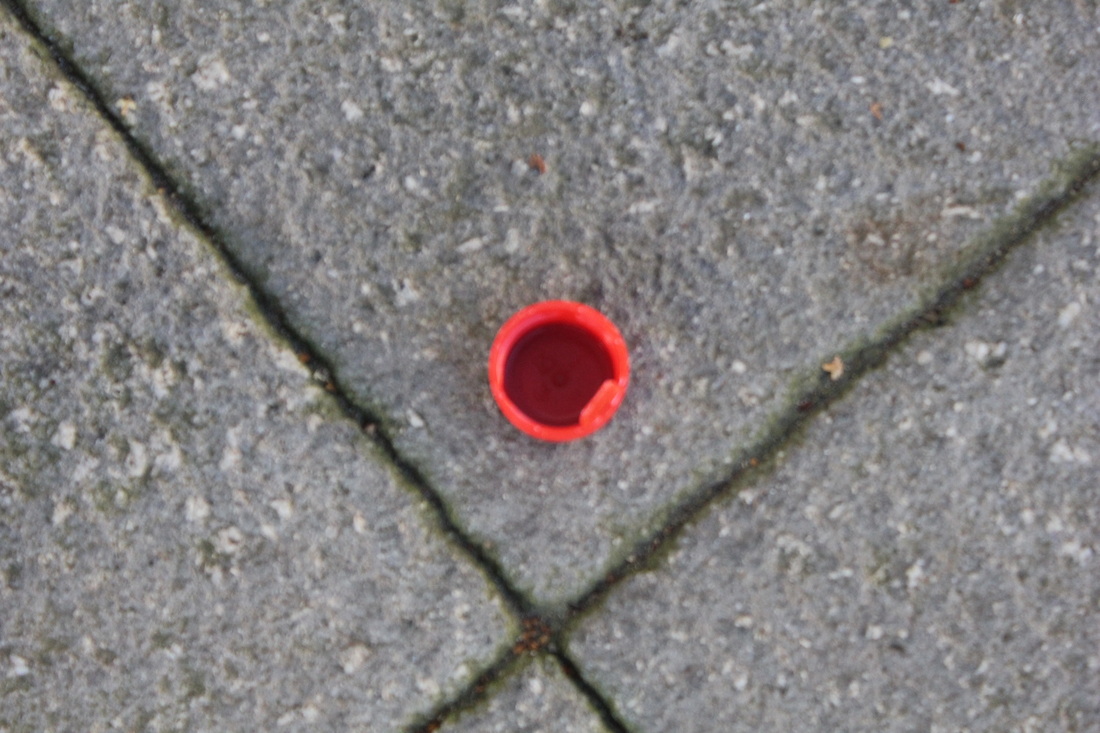
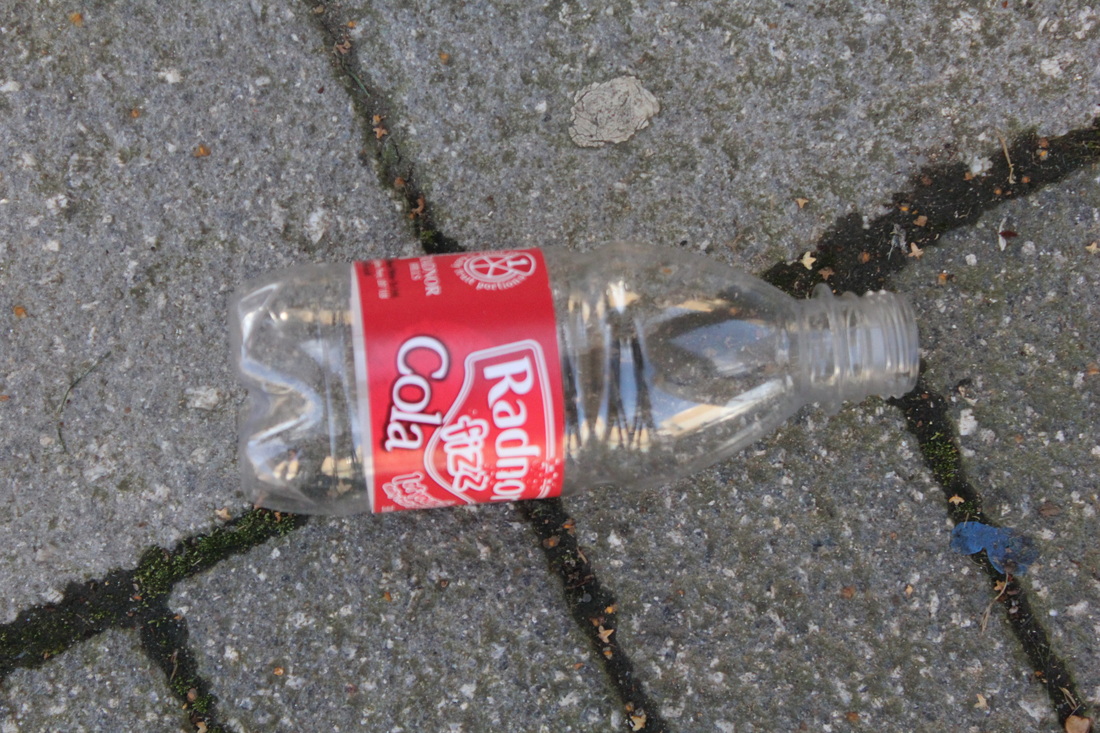
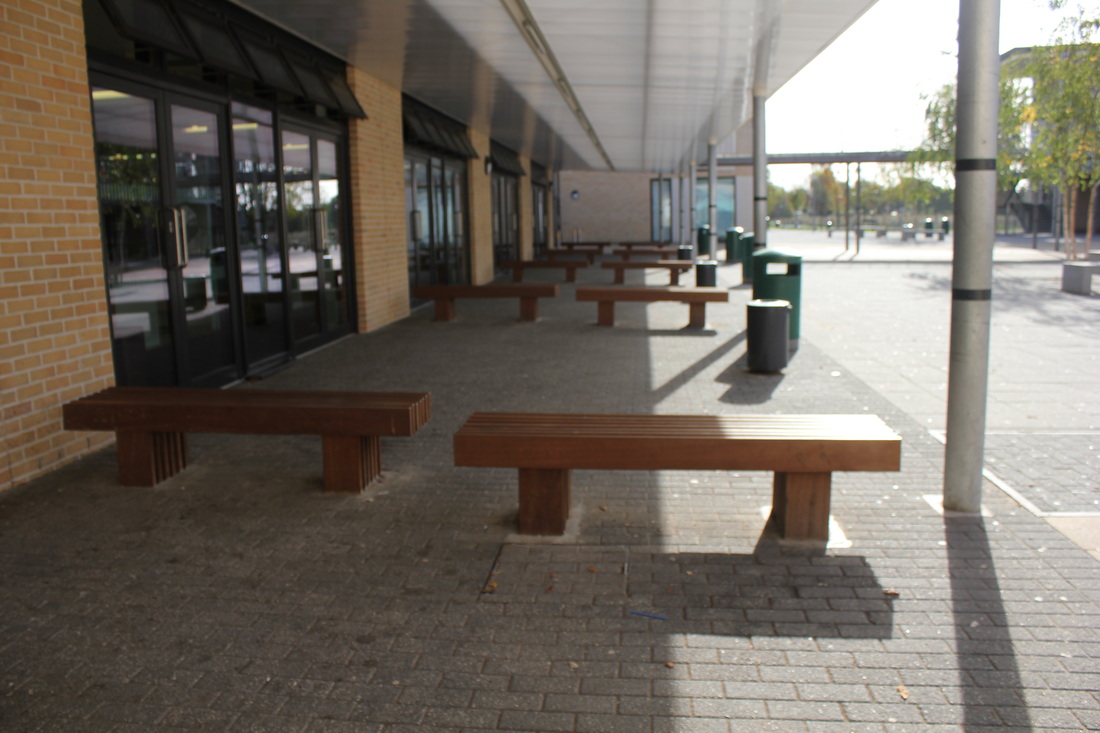
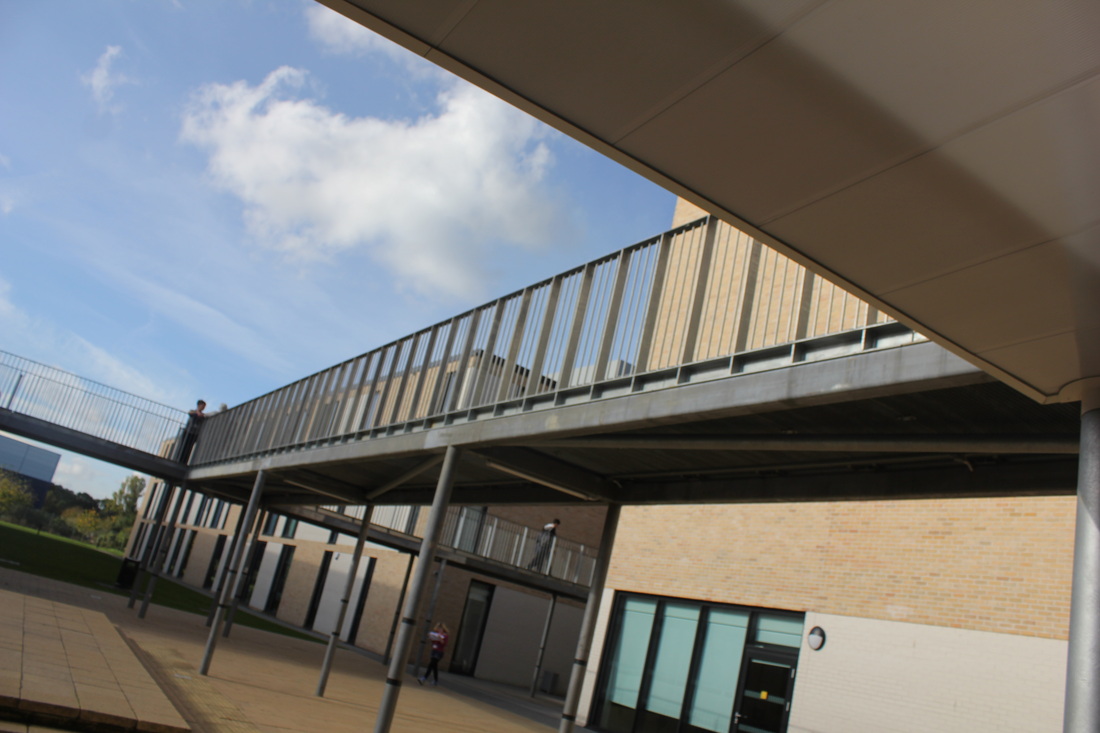
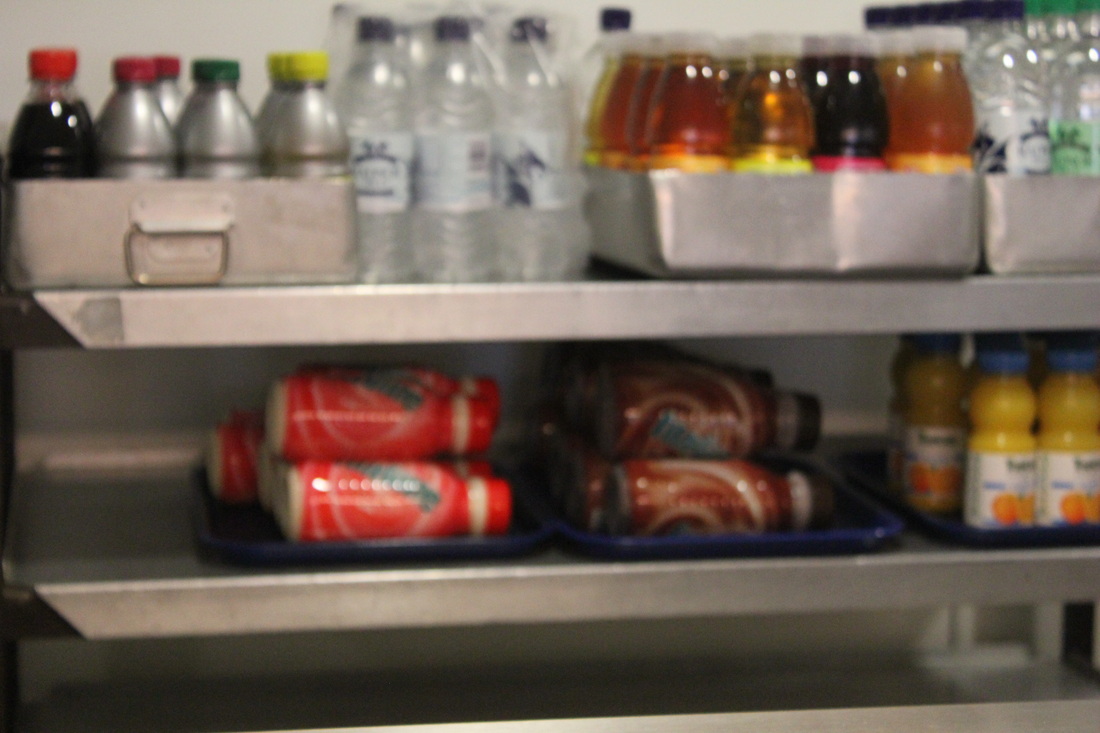
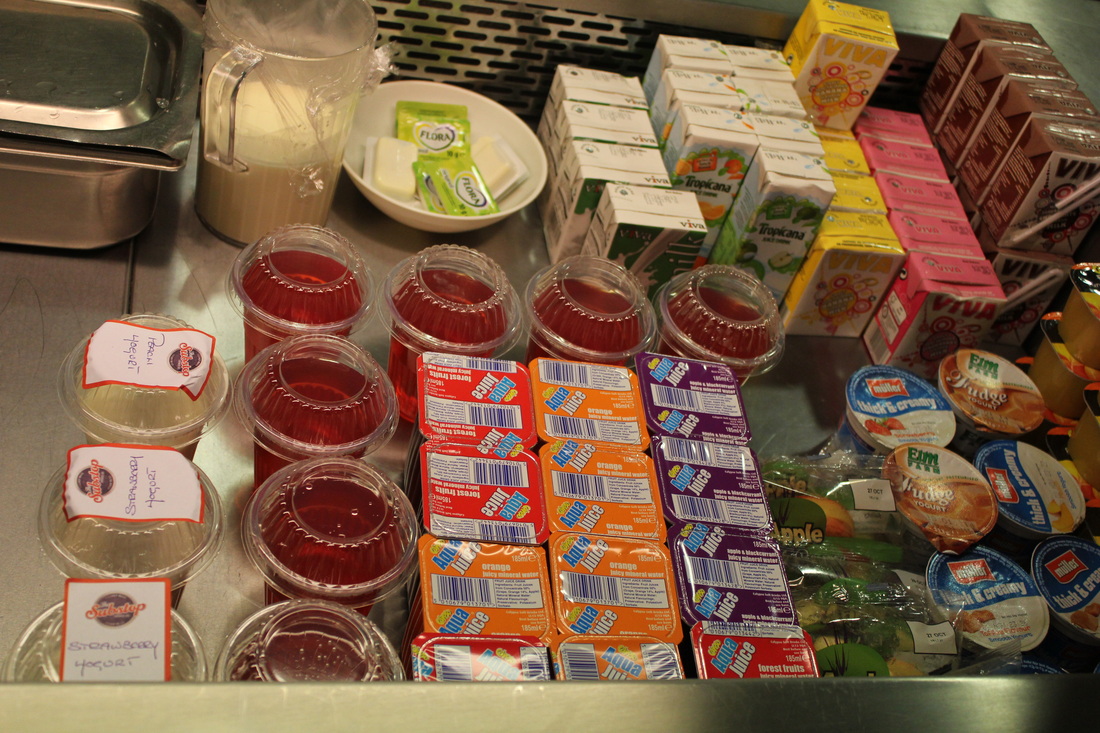
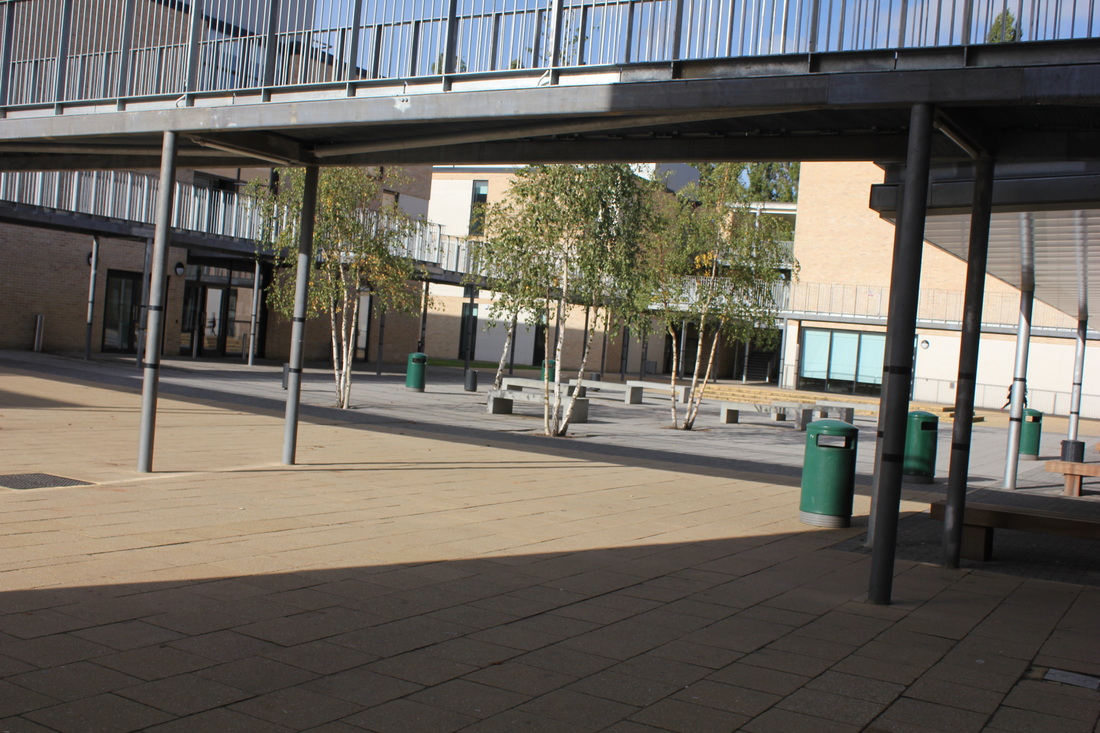
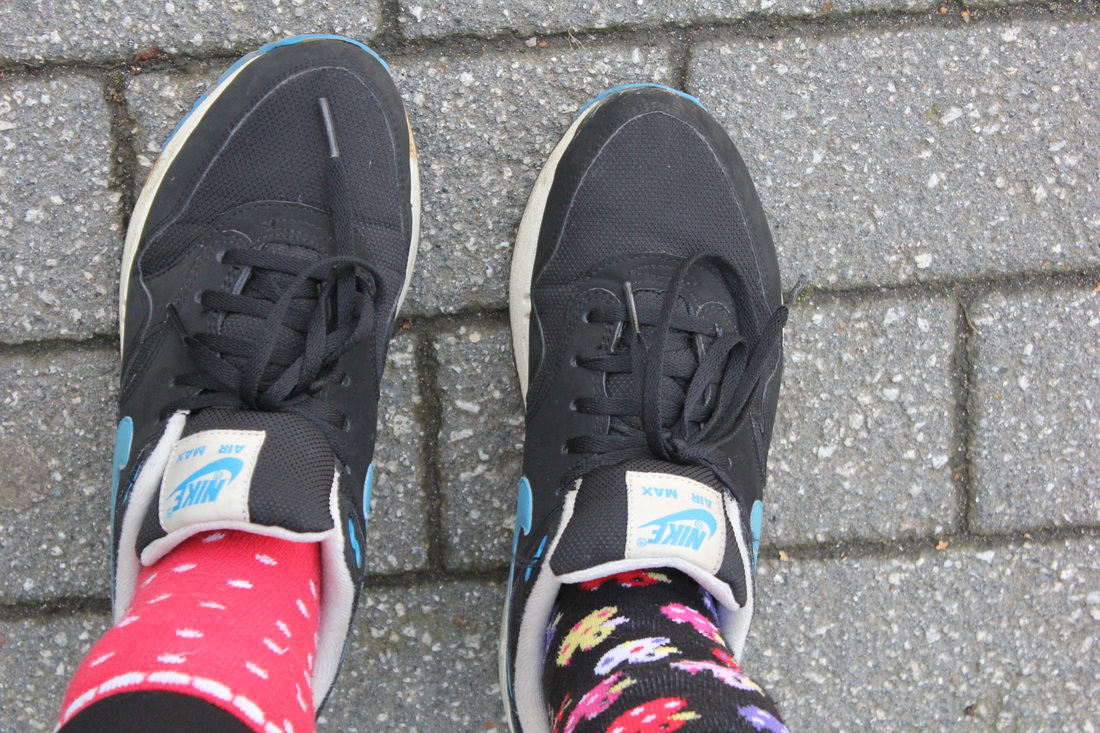
First photo shoot
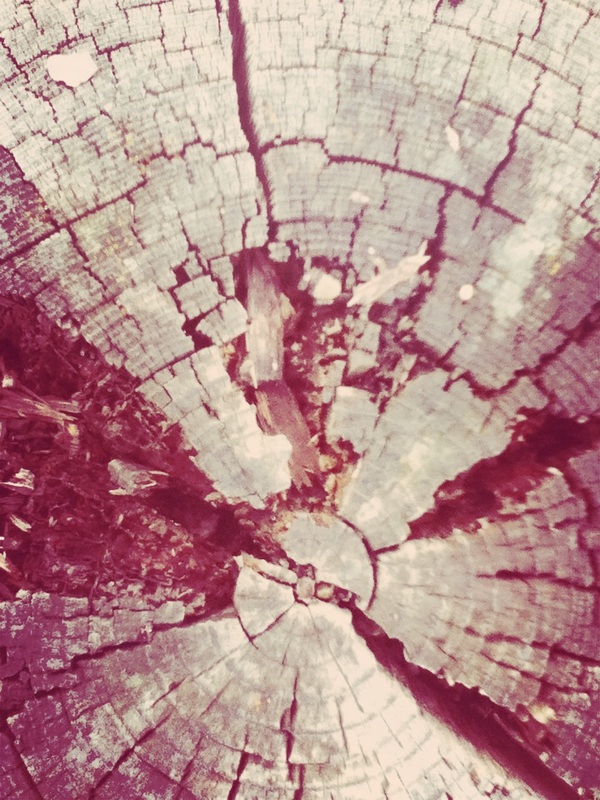
For this set of pictures I was trying to see the school in a different way focusing on colours, patterns, textures and light.


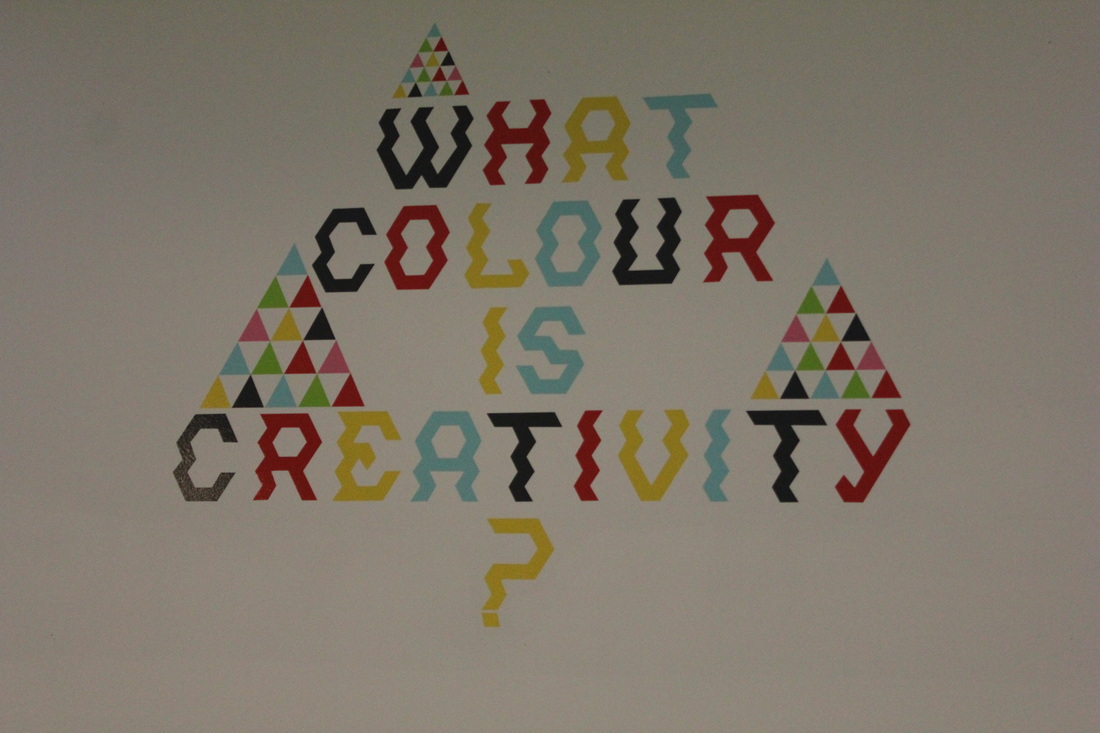

Experimenting with one of the formal elements
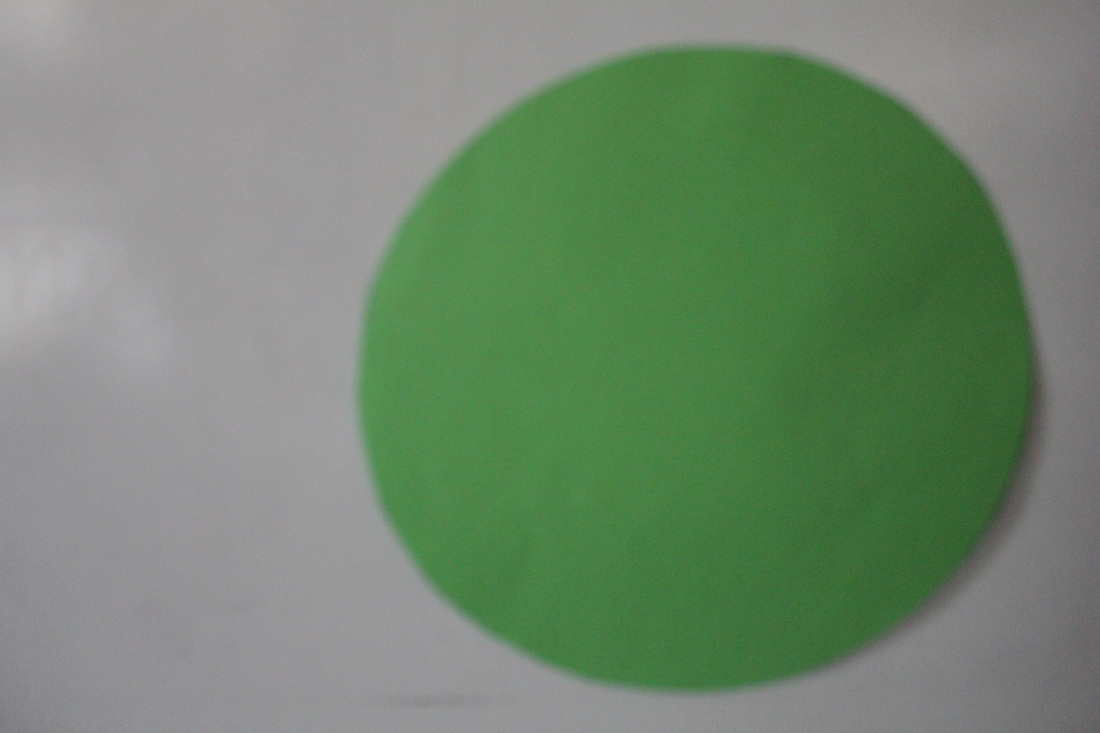
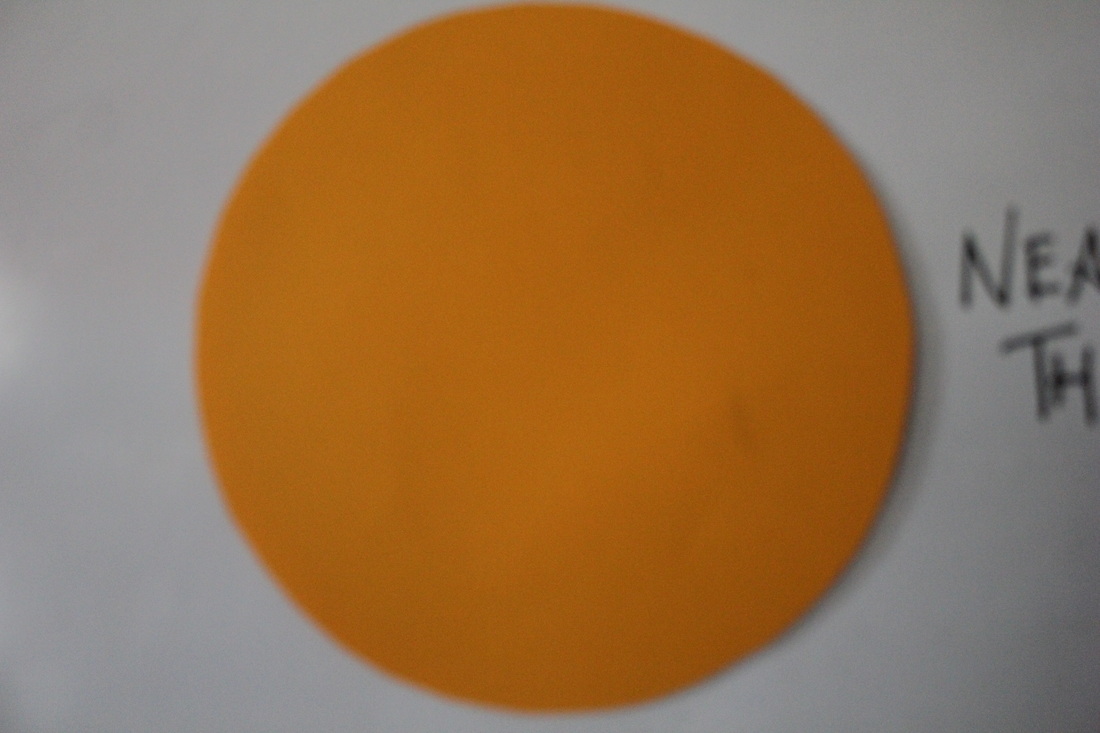
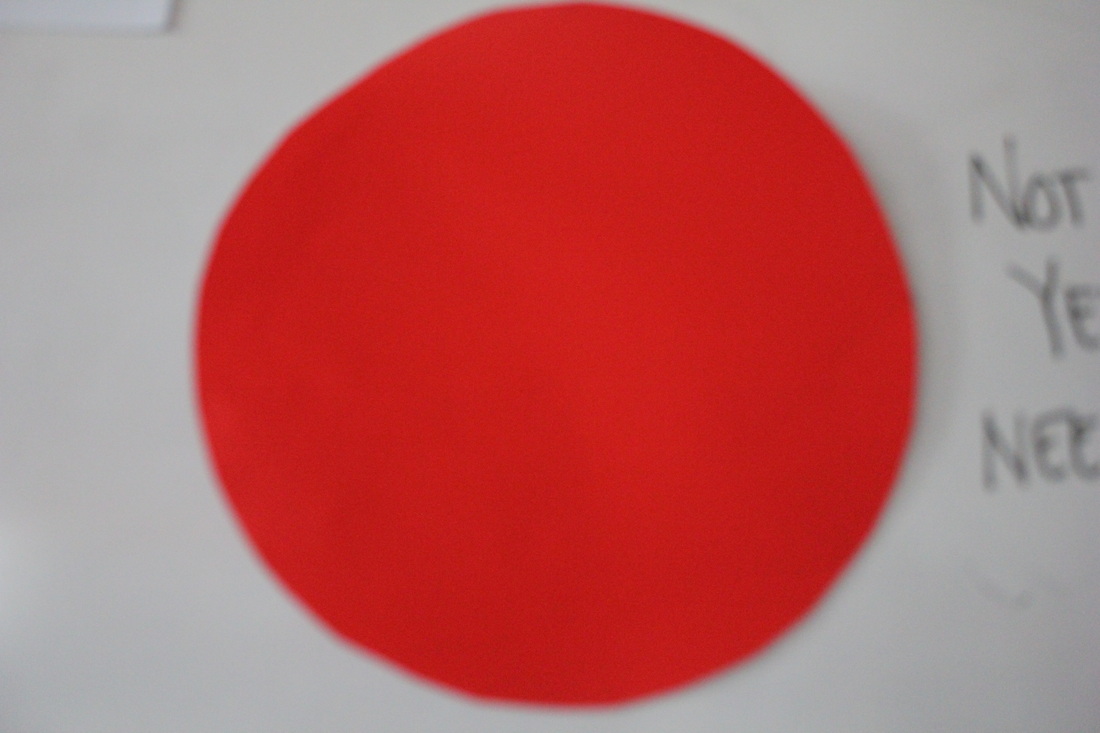
colour
I am going to take a series of images that relate to colour and then I am going to produce a colour weel of all of the picture but in to a colour weel to see the type of colour used. All photos need to be bright and the same size so its a perfect circle.
What's My Inspiration?
William Eggleston's work inspired me to the subject/theme of colour.
William Eggleston
William Eggleston, is an American photographer. He is widely credited with increasing recognition for colour photography. His photos that inspire me the most re the ones that are focused on just one colour. Here are some of my favourites:


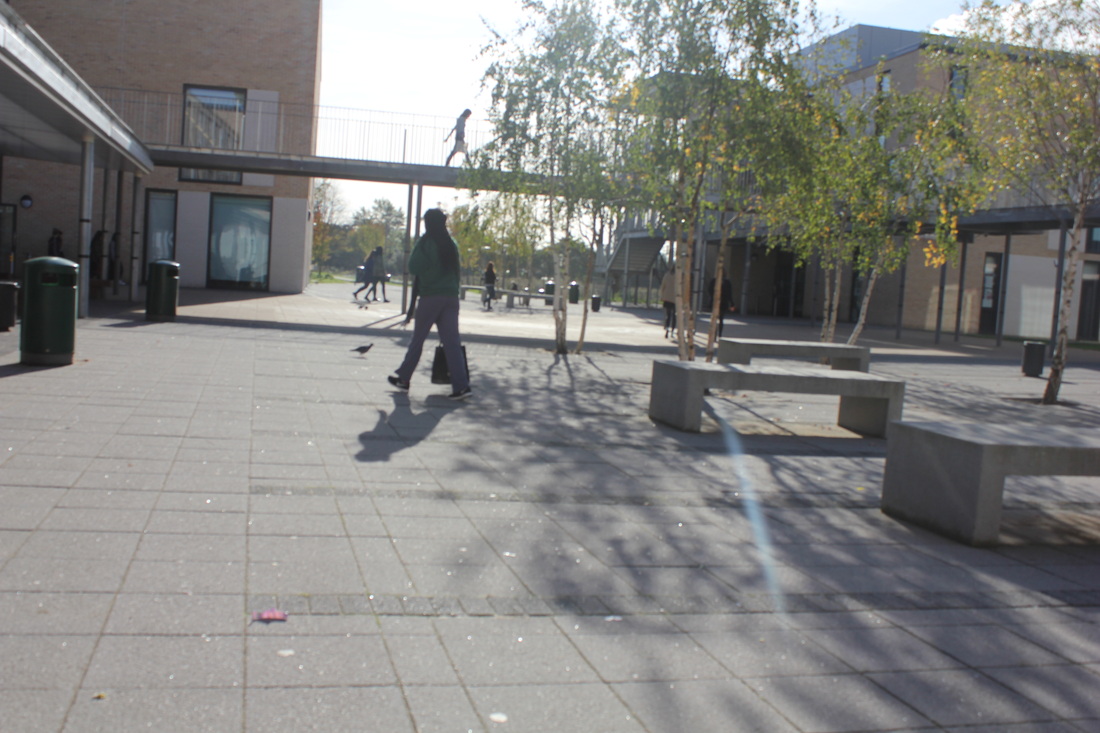
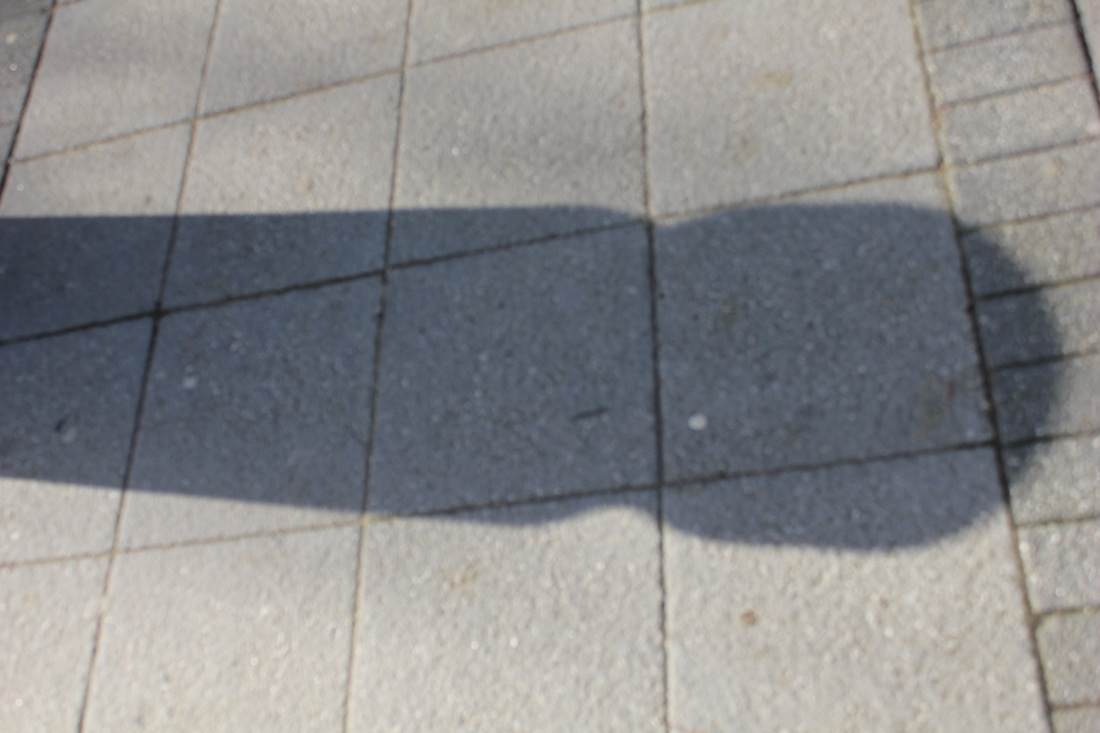
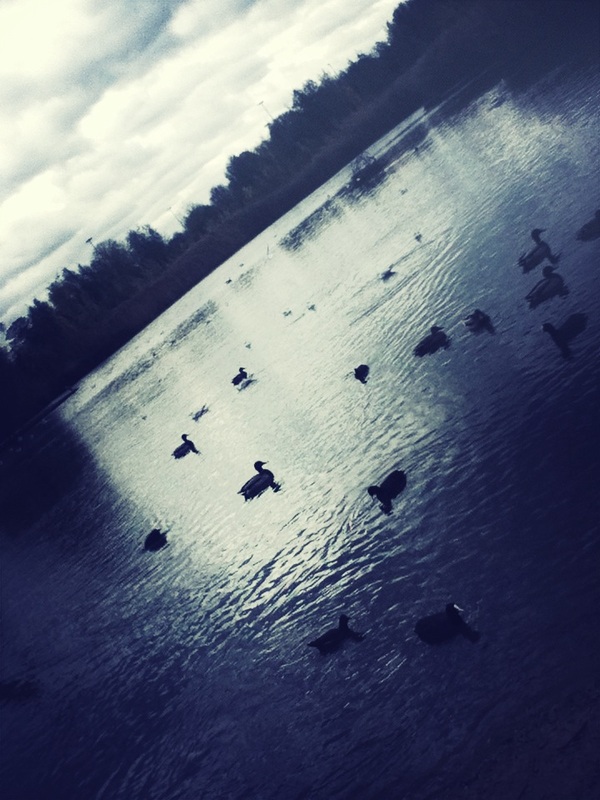
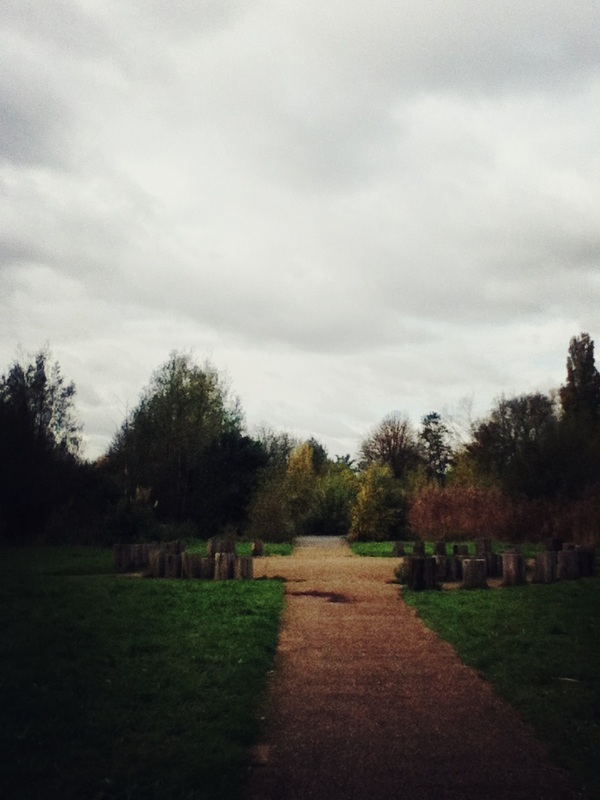
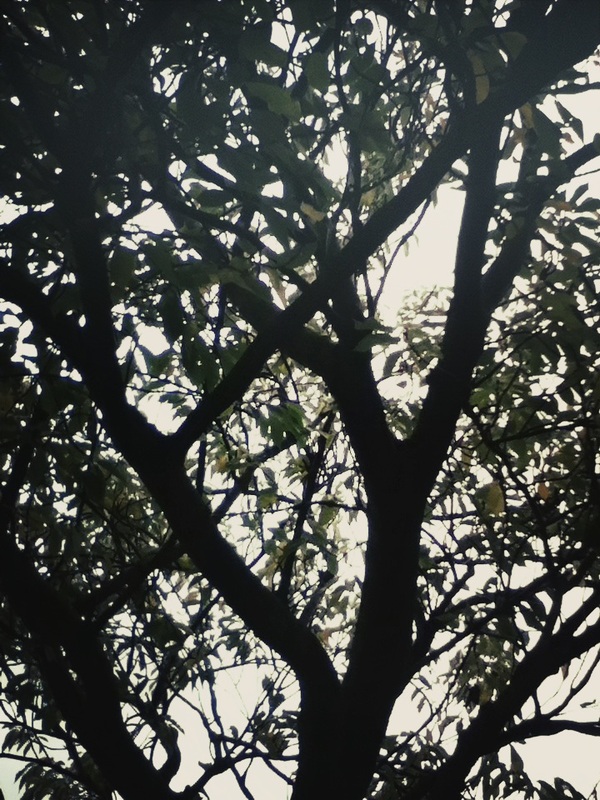
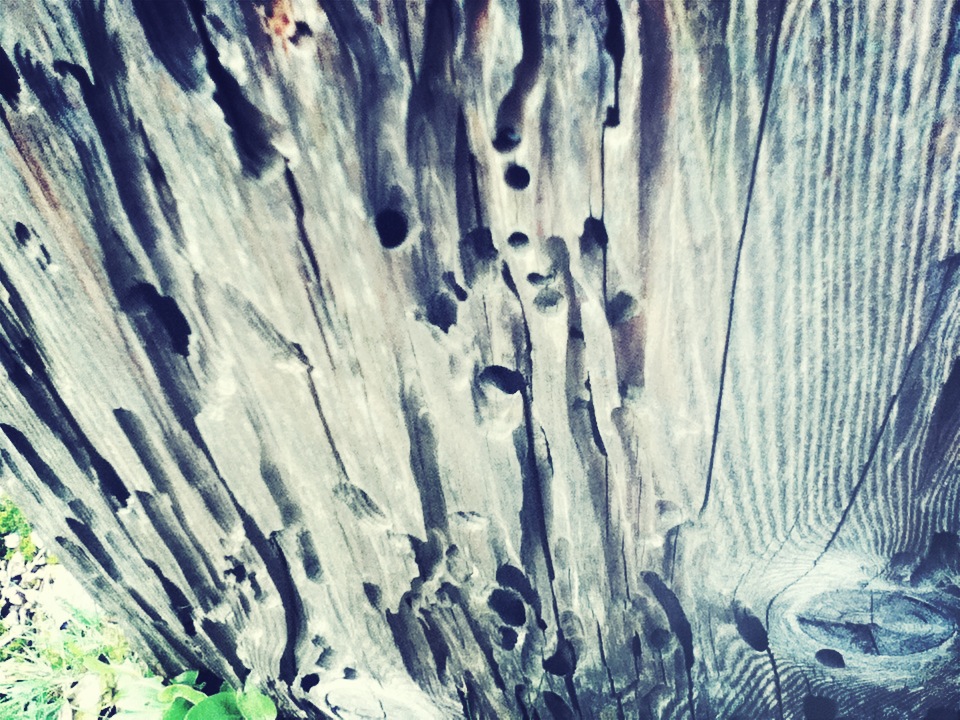
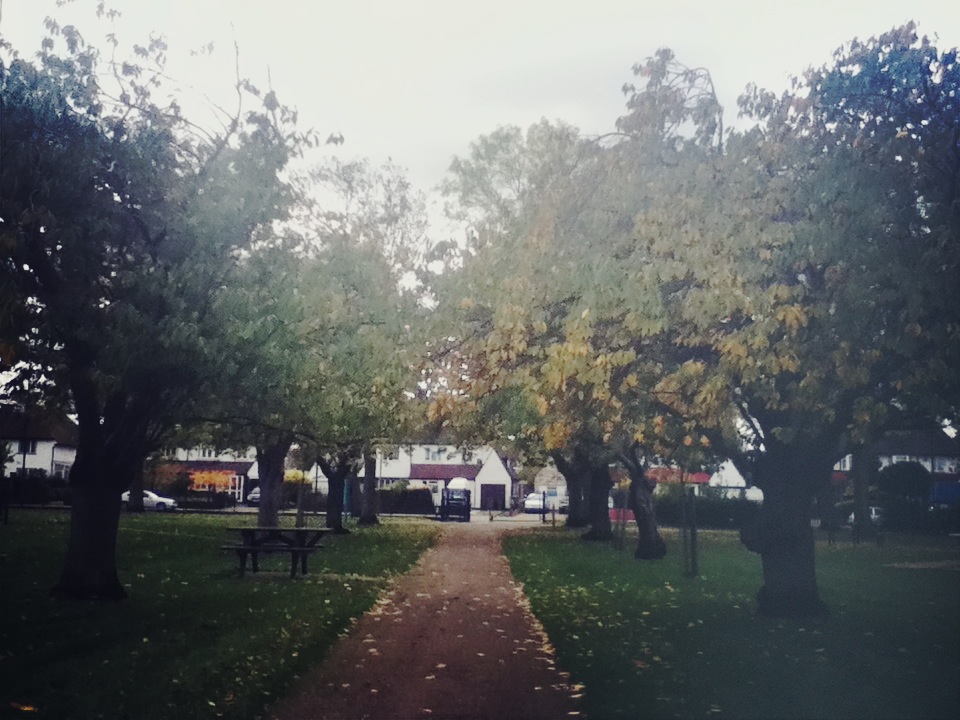
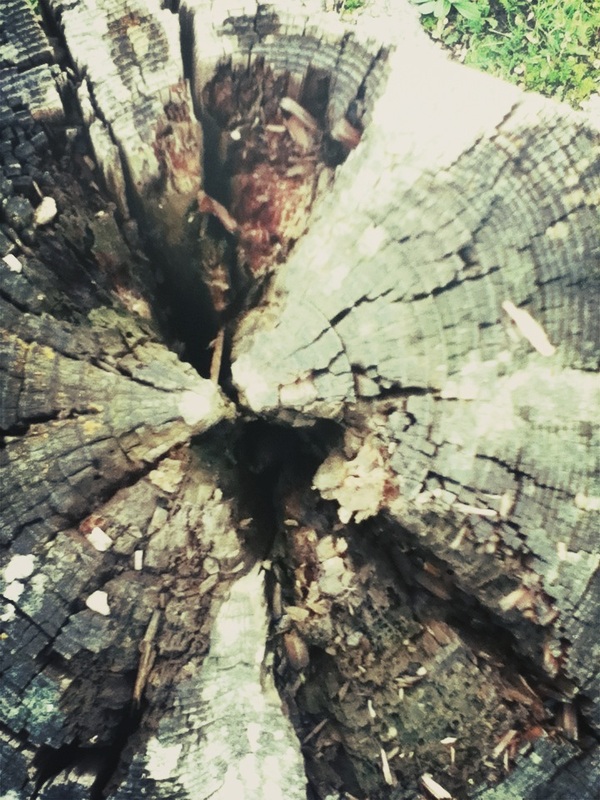
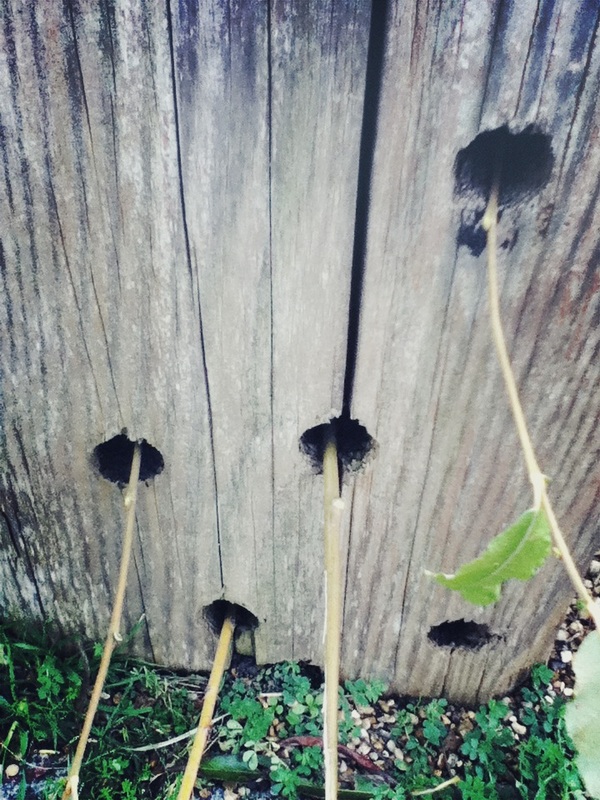
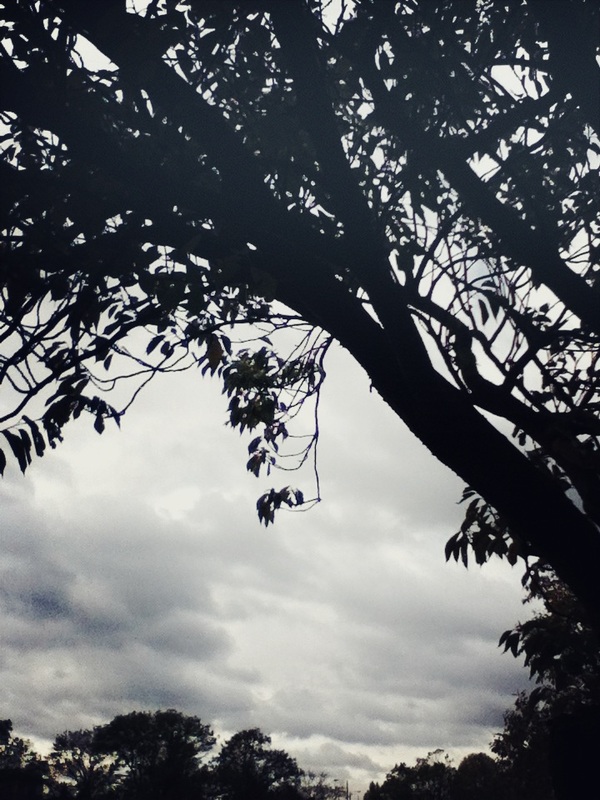
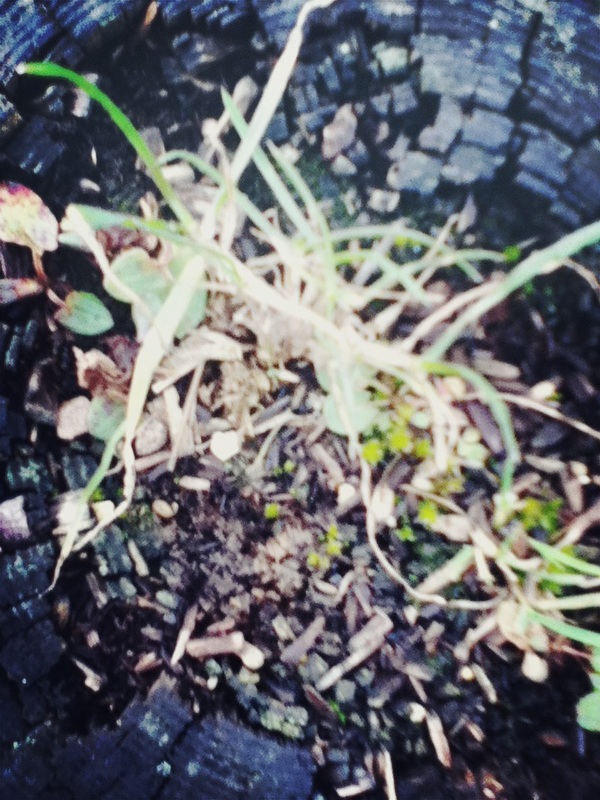
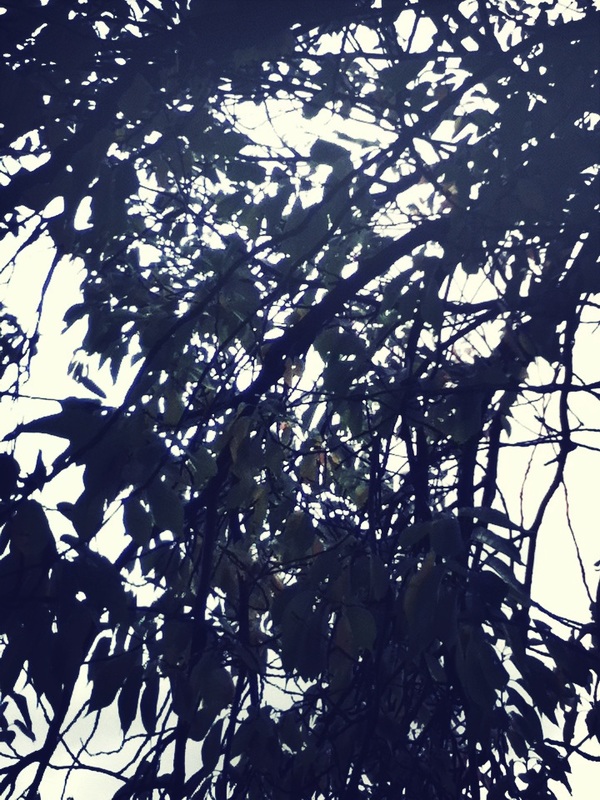
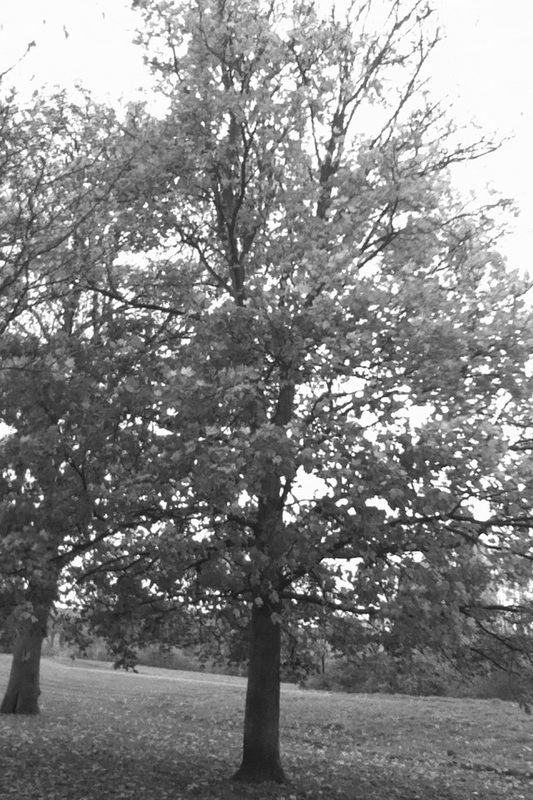
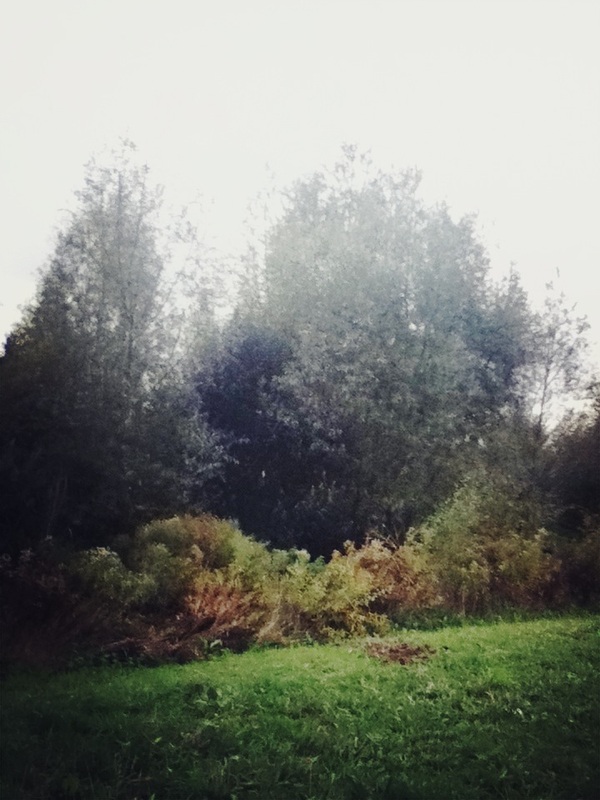
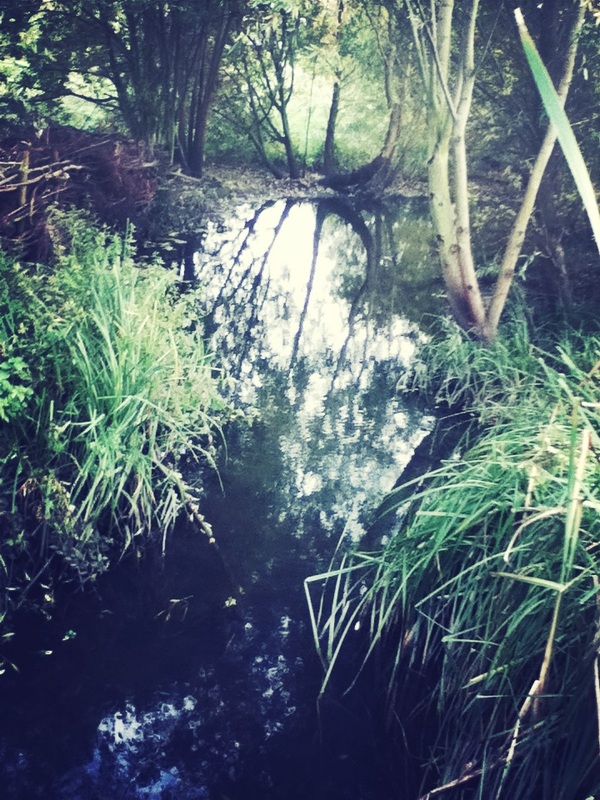
A Trip to the Park
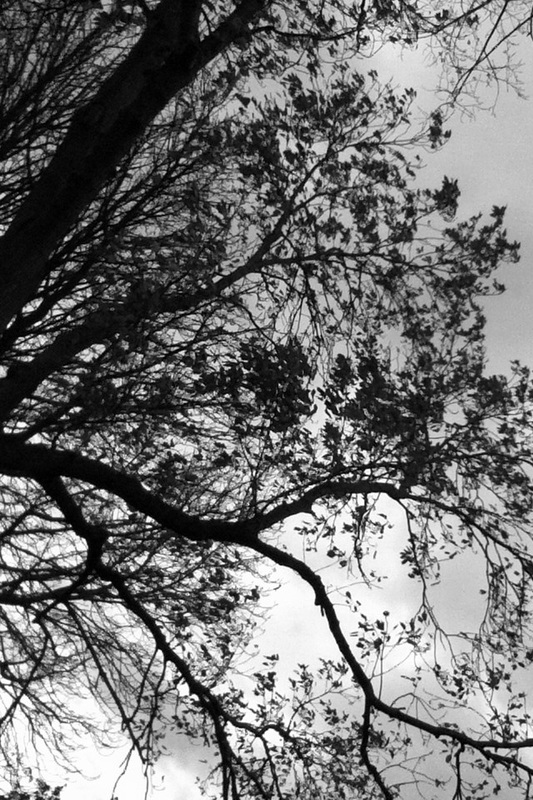
My class went on a trip to the local park to see if we could get some interesting abstract photos. We used a combination of iPod Touches and DSLRs and sir brought a telephoto lens. Here are the pictures I made on the trip.
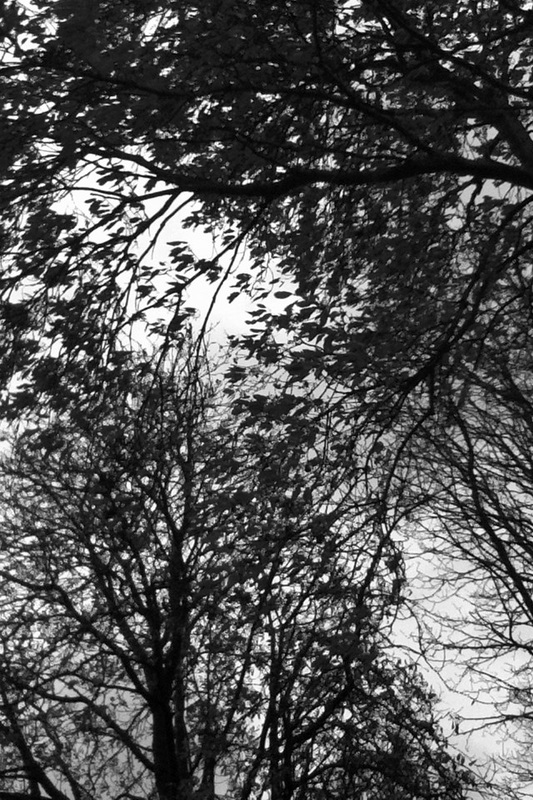
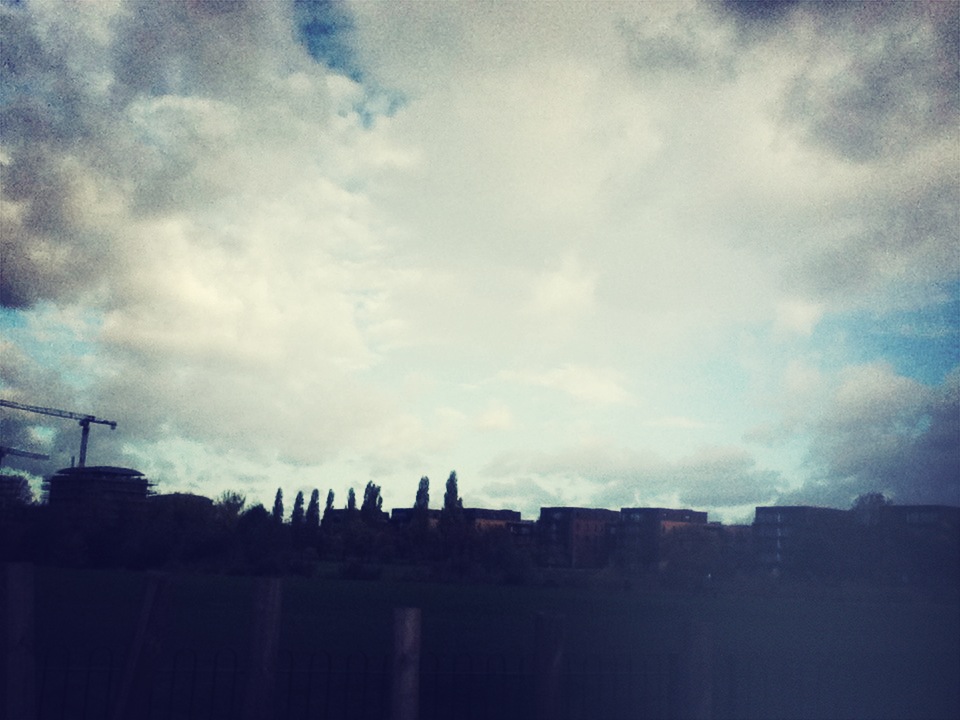
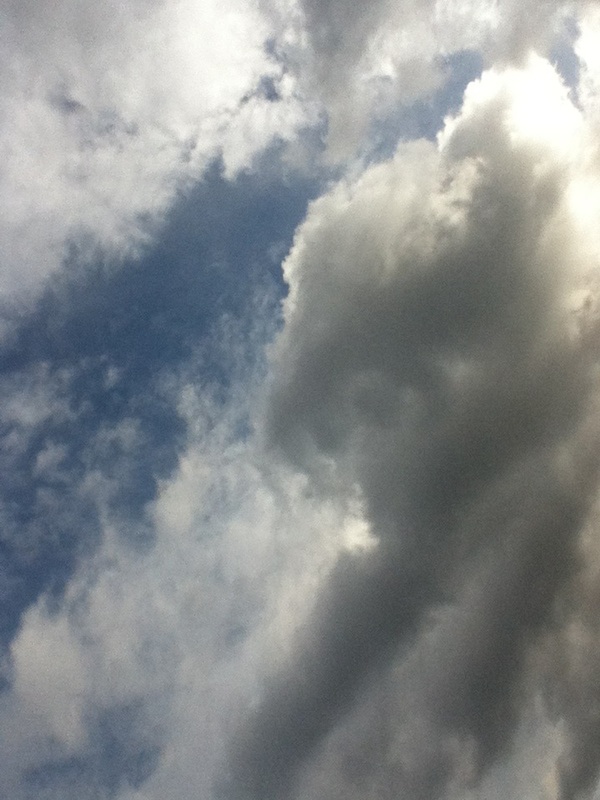
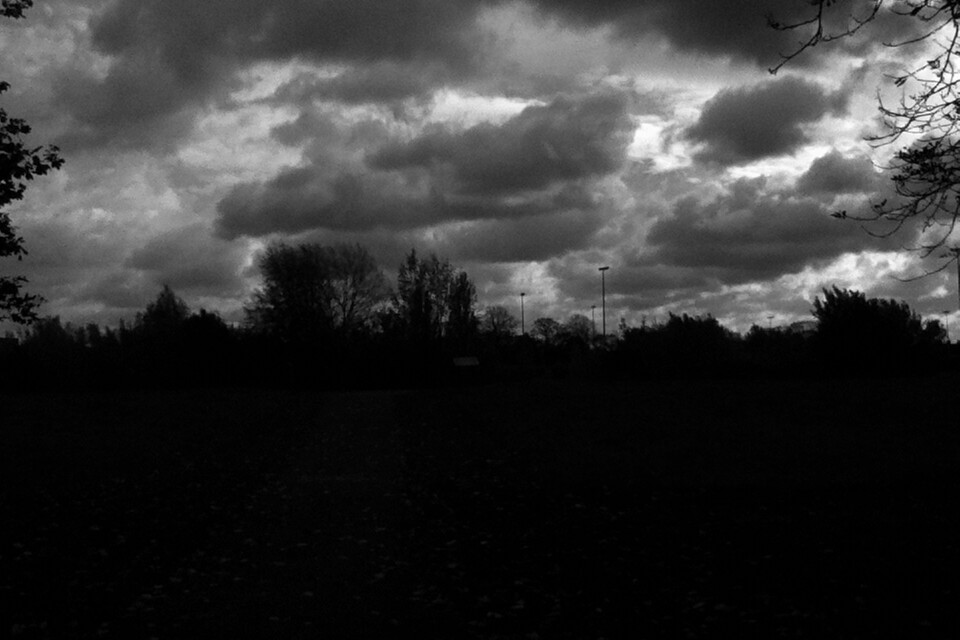
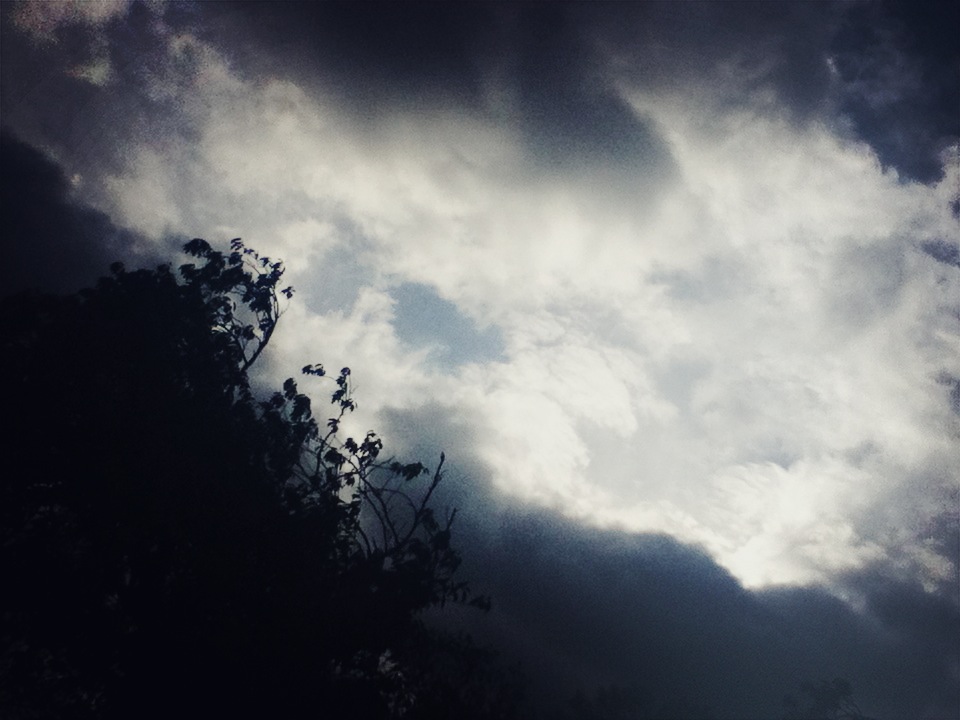
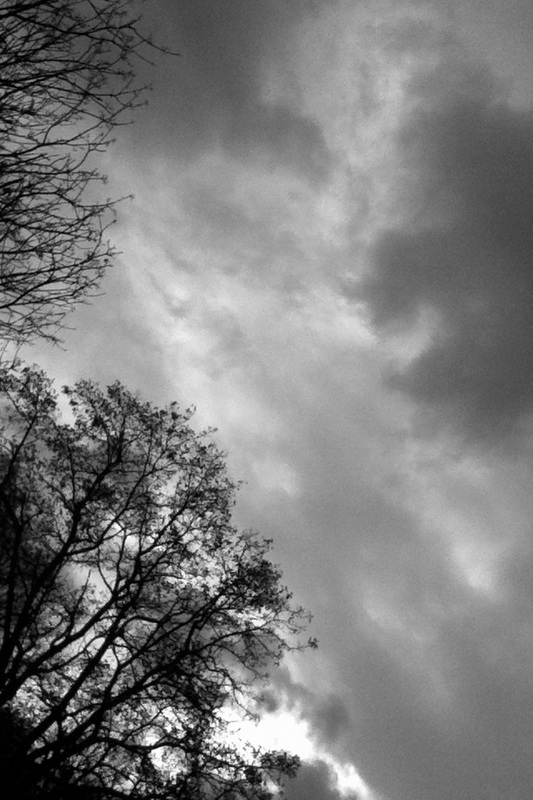

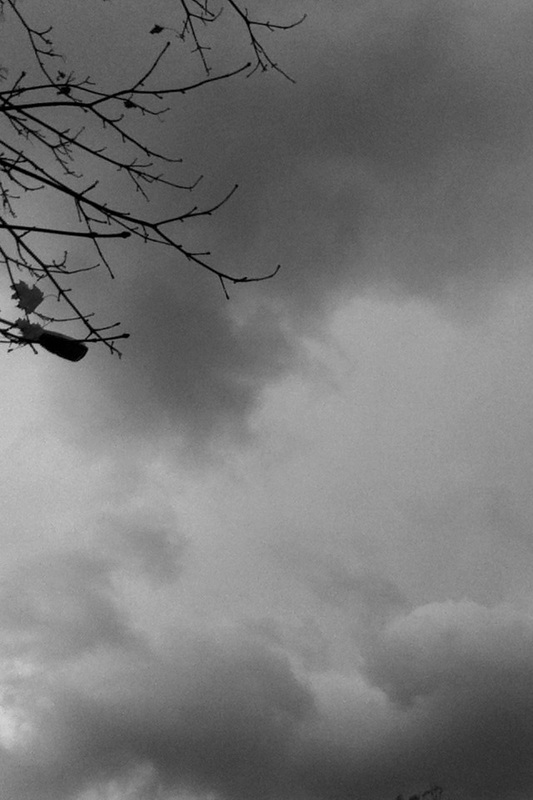
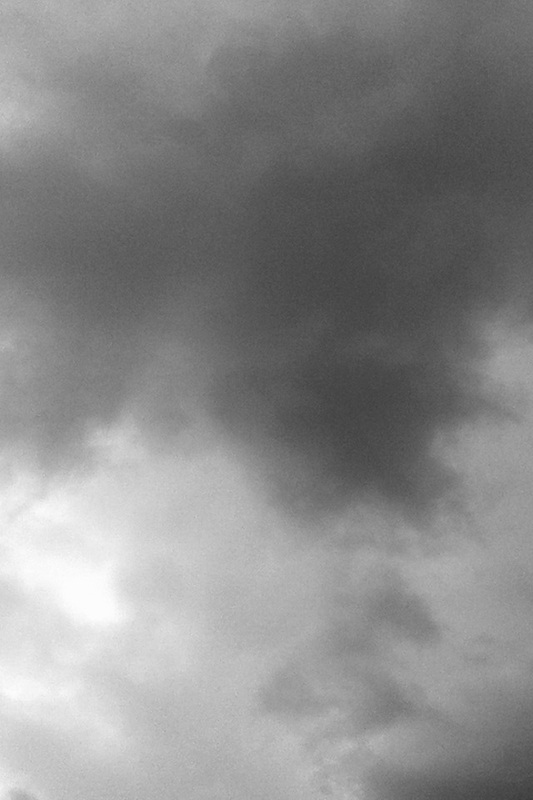
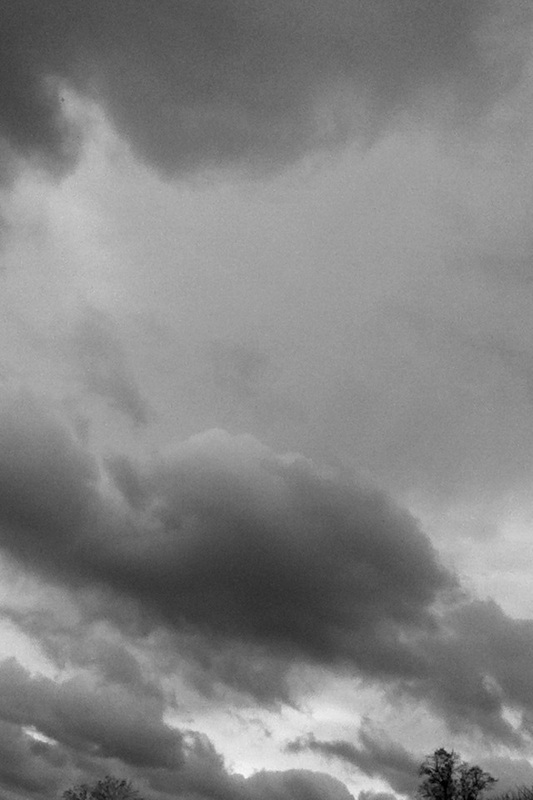
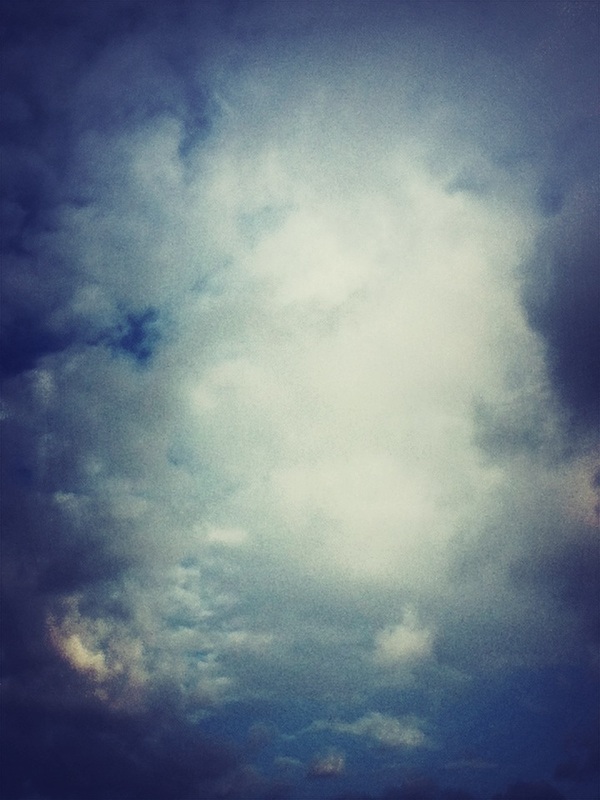
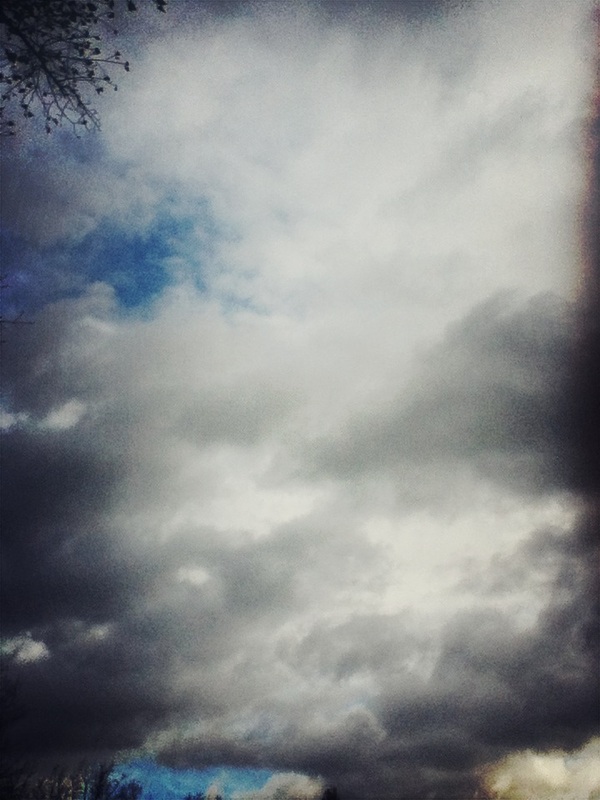
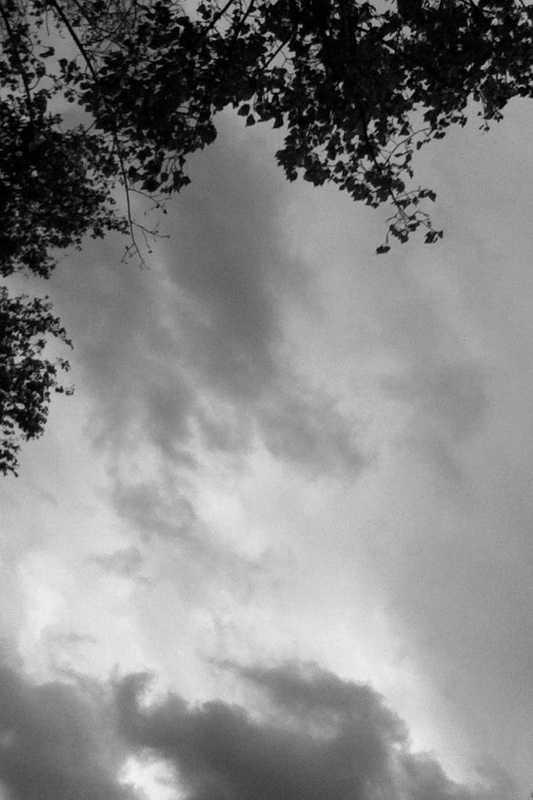

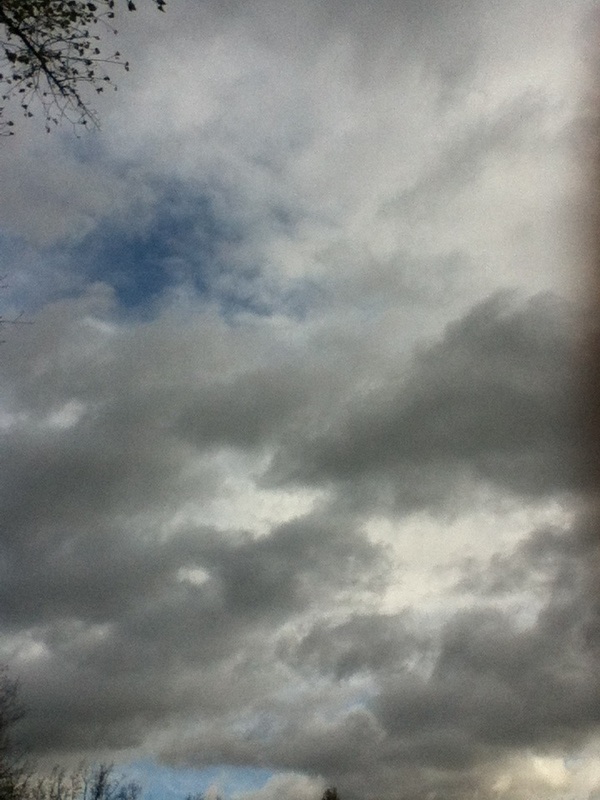

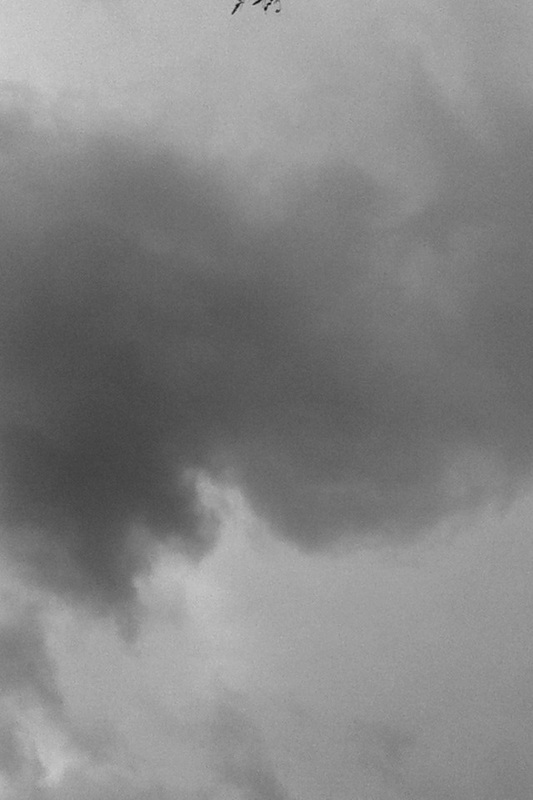
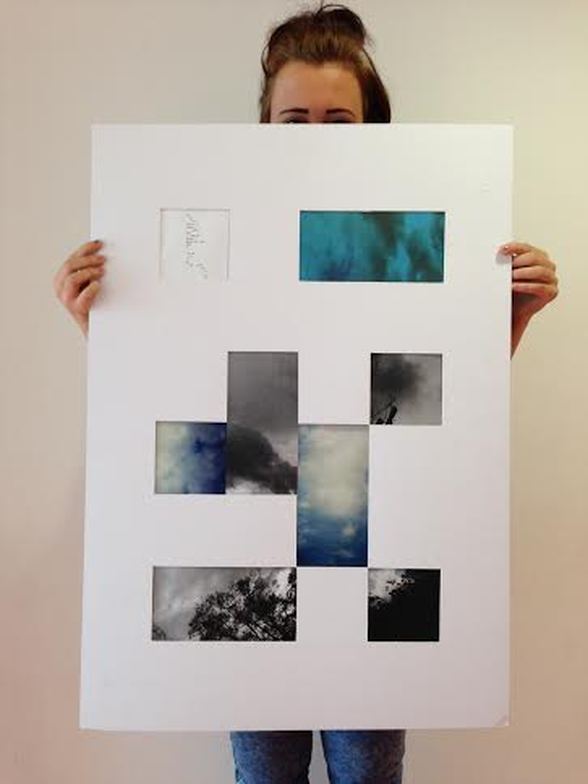
My Final Piece
I decided to use the pictures of clouds and skies for my final piece. I talked to my teacher about how to display the images. I experimented with changing the contrast of the images to make them more dramatic and adding a colour layer to them to make them more mysterious. My teacher talked to me about the idea of displaying them using chance so that I wouldn't pick the place where they were on the board but we would roll a dice. I liked this idea. I made a grid of small squares on the board and rolled a dice to select which square where each picture would be placed. We then cut holes in the board and put the pictures behind. I also chose a poem about skies. I am really pleased with the final piece and proud of my work. I feel like I have learned a lot in this project.